Home | Troubleshooting |  Quick Setup  |  Cisco How to  |  Data Recovery  |  Forums   | Blog | IT Exam Practice | Services  | About Us | Chicagotech MVP  | Search  | Contact Us  |                  Laptop for rent: $35 per day plus $10 for additional day

rental


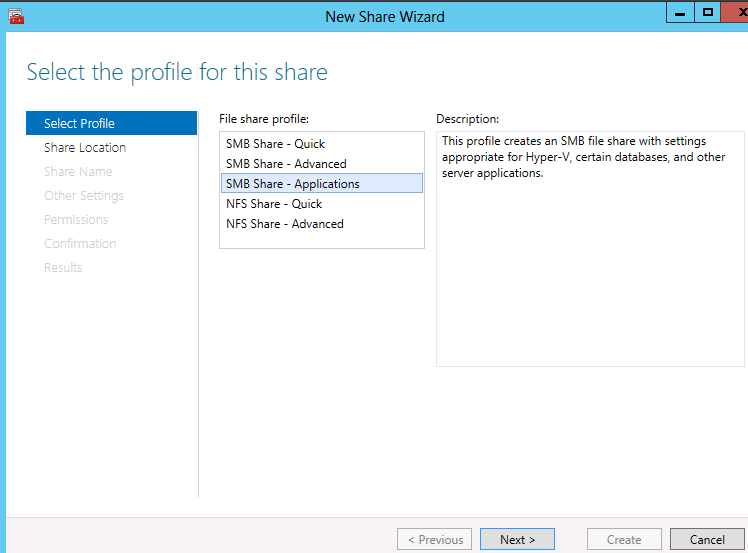
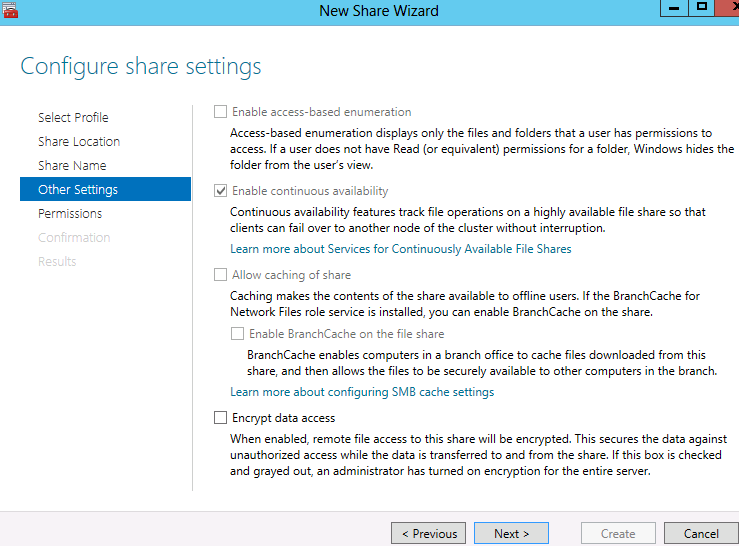
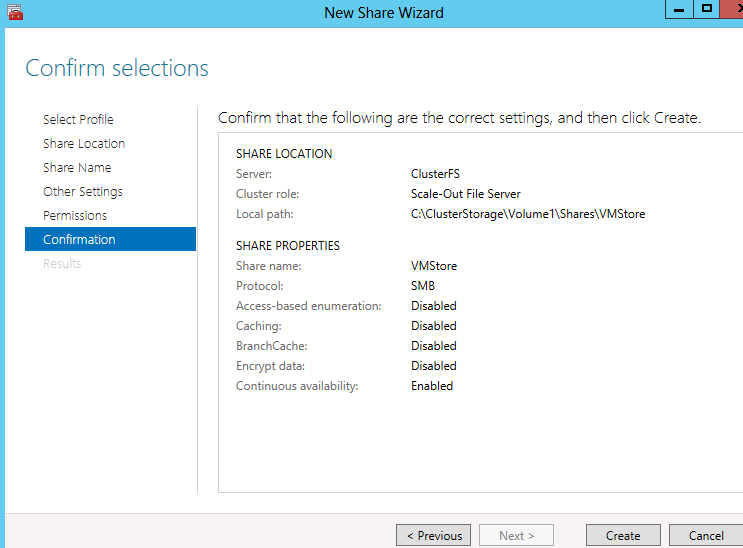
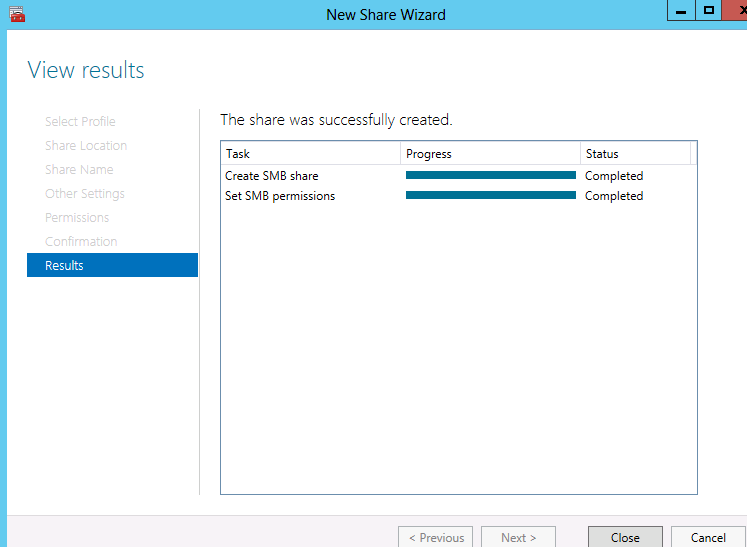
How to create the shared folder for Hyper-V in Windows 2012  - Step by step with screenshots 


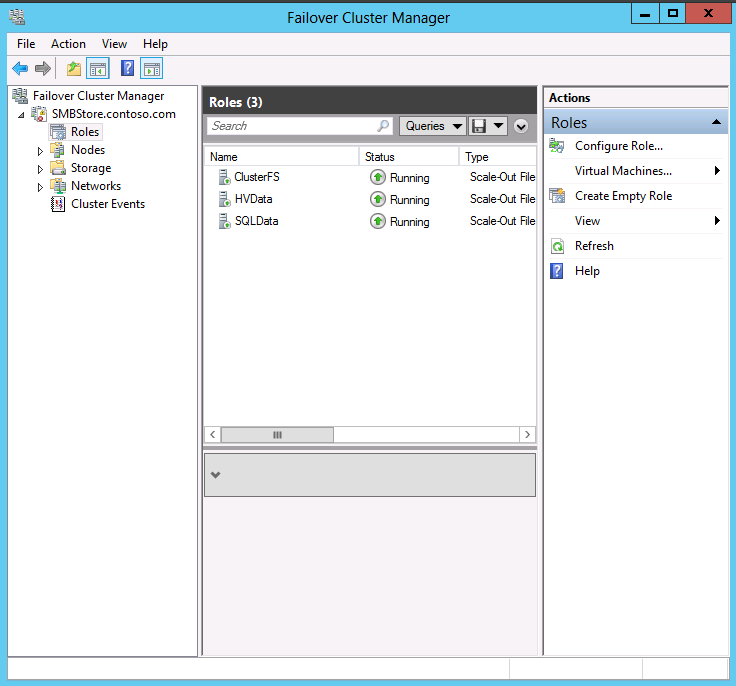
1. Open Failover Cluster Manager from Server manager>Tools.
1. In Failover Cluster Manager, click Roles, and highlight ClusterFS.


2. Click Add File Share.


3. In Select Profile, click SMB Share –Applications, and then click Next.


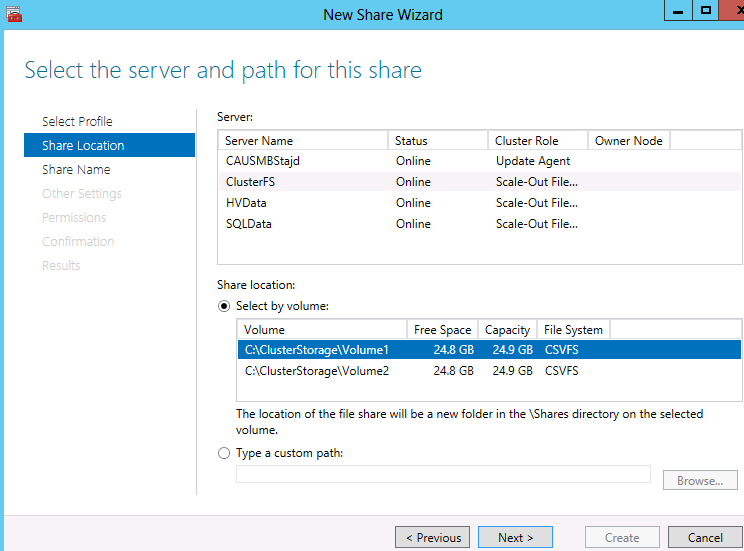
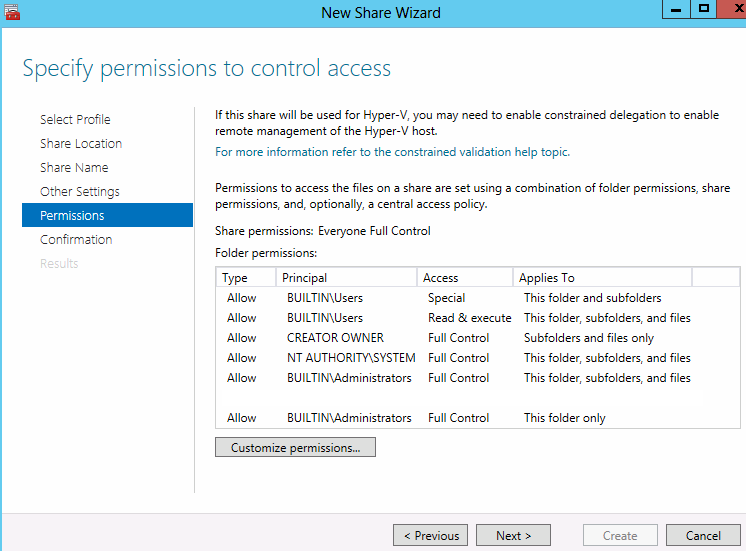
4. In the Server section, ensure that ClusterFS is selected.
5. In Share Location, click C:\ClusterStorage\Volume1, and then click Next.


6. In Share name, type VMStore, and then click Next.


7. Make sure Enable continuous available and click Next.

8. Click Customize Permissions.


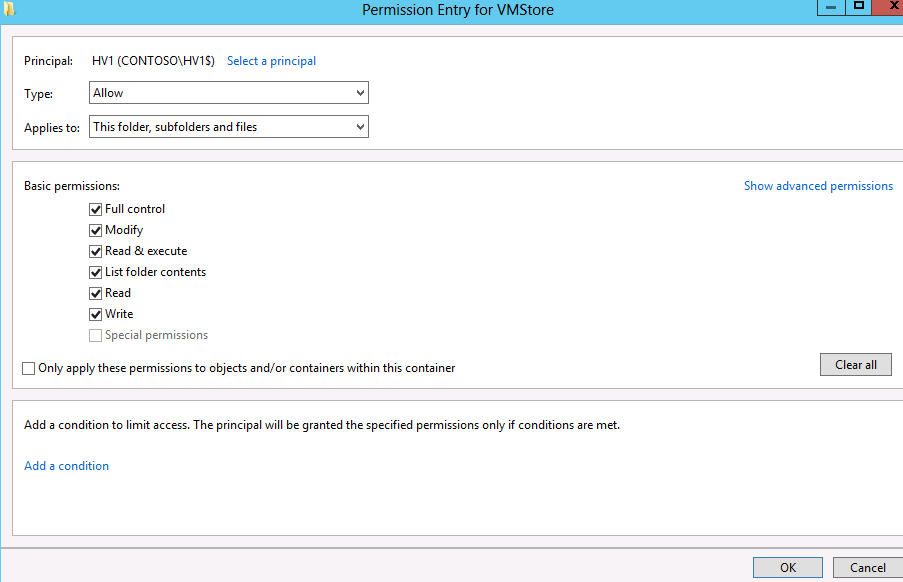
9. Click Add, then click Select a principal.
10. Click Object Types, select Computers, and then click OK.
11. Type HV1, and then click OK.
12. In Permissions, click Full Control.


13. Click OK.
14. Click the Share tab.
15. Click Allow Everyone, and then verify the access is Full Control.


16. Click OK.
17. Click Next.


18. Click Create, and then click Close.


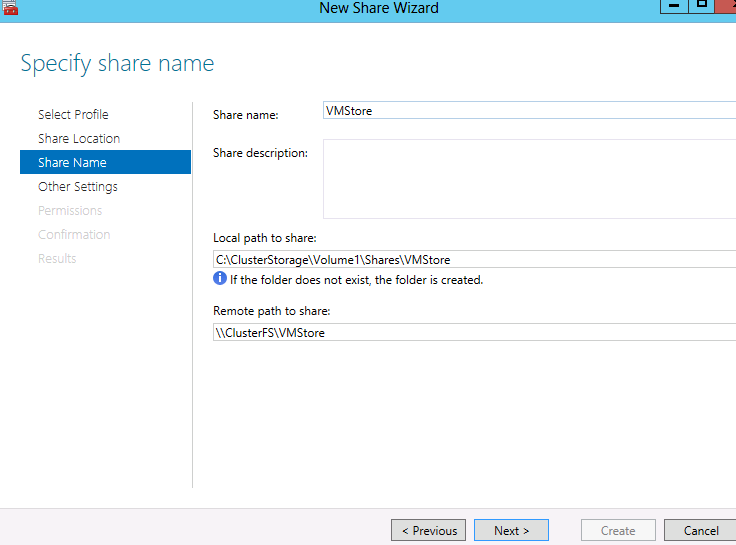
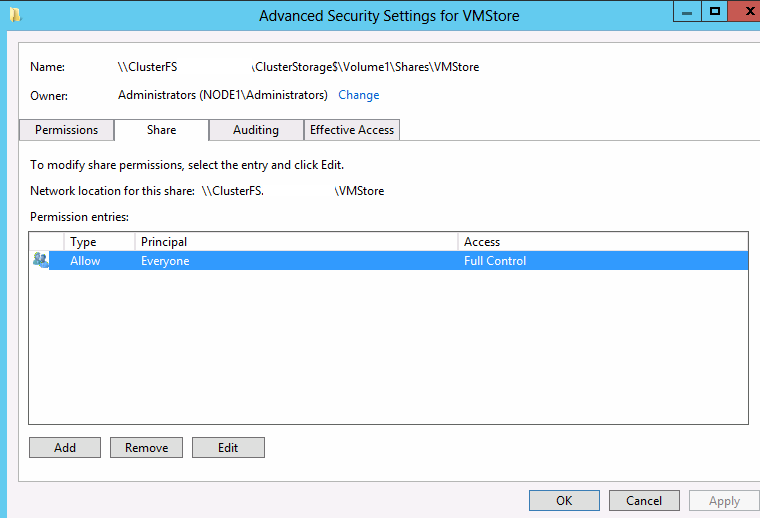
To verifye the shared folder, run Windows PowerShell. Type this command: Test-Path \\clusterfs\vmstore , and then press ENTER. The command will return TRUE if the path is available. Or type net view \\clustername to show the shared folder.


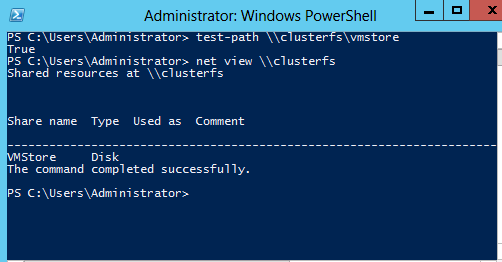
Post your questions, comments, feedbacks and suggestions

Contact a consultant

Related Topics


Hit Counter   This web is provided "AS IS" with no warranties.
Copyright © 2002-2018 ChicagoTech.net, All rights reserved. Unauthorized reproduction forbidden.