The Files app, introduced in iOS 11, is the central repository for all of the files services with apps on your iPhone and iPad, like iCloud, Google Drive, Dropbox, and many more. It lets you open documents, photos, videos, and audio from any compatible app from a single point on your device.
On your iPhone or iPad, open the Files app.
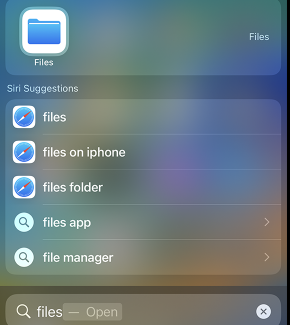
Don’t see the blue Files app icon on your Home Screen? Just swipe down, then search for the Files app.
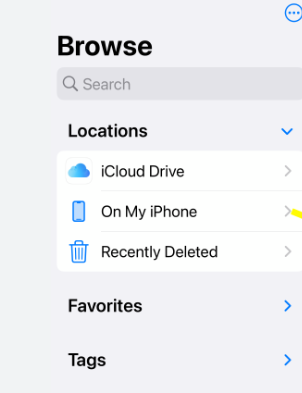
2. With Files app open, you can browse to iCloud drive, On My iPhone/iPad.
3. In the Files app, search or browse for the file that you want.
By design, Google defaults to the first account you logged in with. So, the solution is to set a default Gmail or Google account:
Go to any Google site sign-in page in a non-incognito window.
Log out of all your Google accounts. Select your profile picture on the top-right and click Sign out from the menu.
Go to gmail.com and sign in with the account you want to set as the default account. Remember, the first account you log in to becomes the default always. Test this by signing into any other Google service (like Google Drive) and see for yourself.
After signing in to your default account, you can sign in to any other Google account and switch between them.
Select your profile image from the top-right. On the menu, choose Add account. Use your credentials to sign in to the account you want to use.
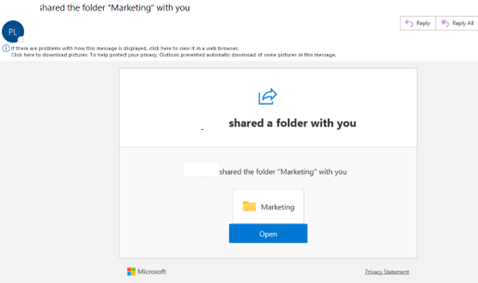
This “How to” will show you how to access shared OneDrive folder from a PC using the internet. You can access the shared OneDrive folder from home, hotel and even outside of the country with the Internet connection.
After the OneDrive owner sent you to the sharing link, you will receive an email with this subject: Someone shared a folder with you.
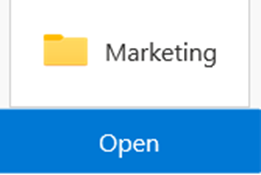
2. Click Open.
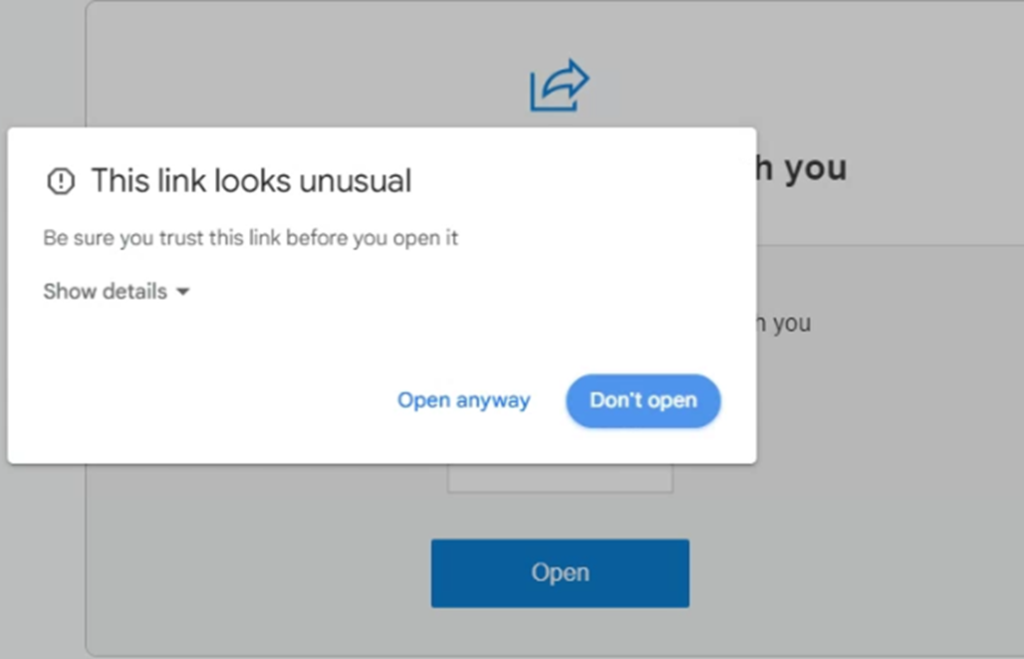
3. Click on Open anyway if you receive this message:
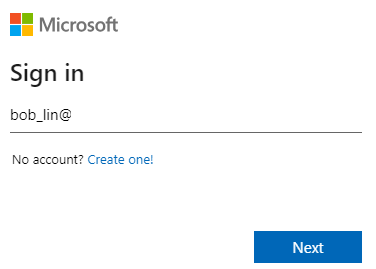
4. Please Sign in Microsoft using your (receiver) email, for example bob_lin@chicagotech.net. Note: you must have a Microsoft account to access the cloud folder. If you don’t have a Microsoft account, please register first. It is free.
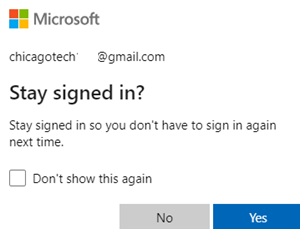
5. Enter your Microsoft account password.
6. Check Don’t show this again and then click on Yes.
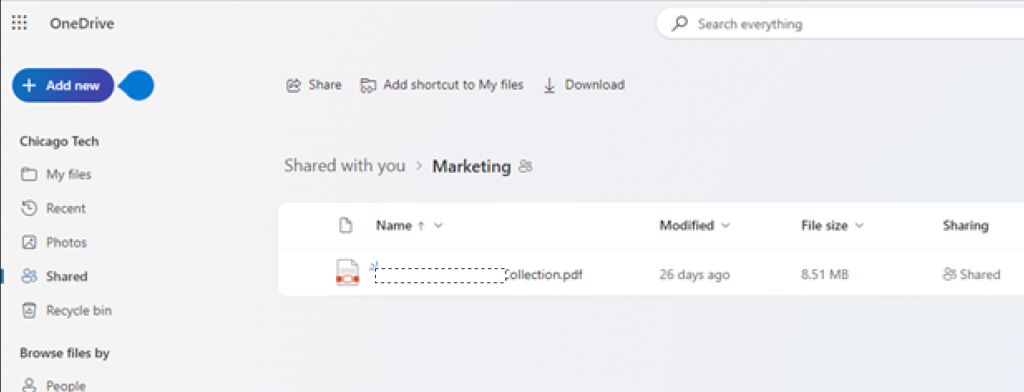
7. Now, you should be able to access shared OneDrive folder.
1. Within the OneDrive iOS App itself, click Profile icon top left (the Profile icon only seems to be available when you’re at the Top Level folder, not within any subfolder itself)
With Excel automate a repetitive task, you can record a macro with the Macro Recorder in Microsoft Excel. Imagine you have dates in random formats and you want to apply a single format to all of them.
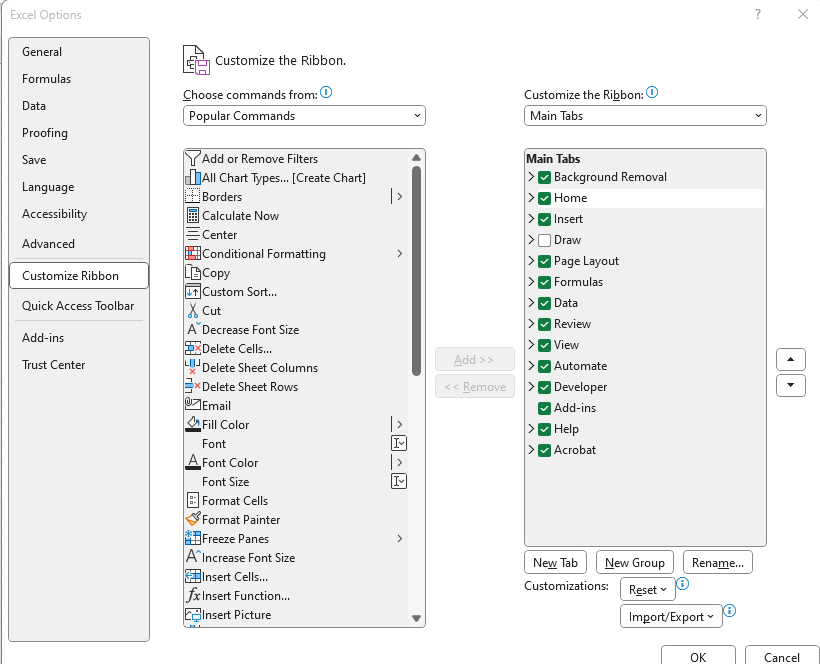
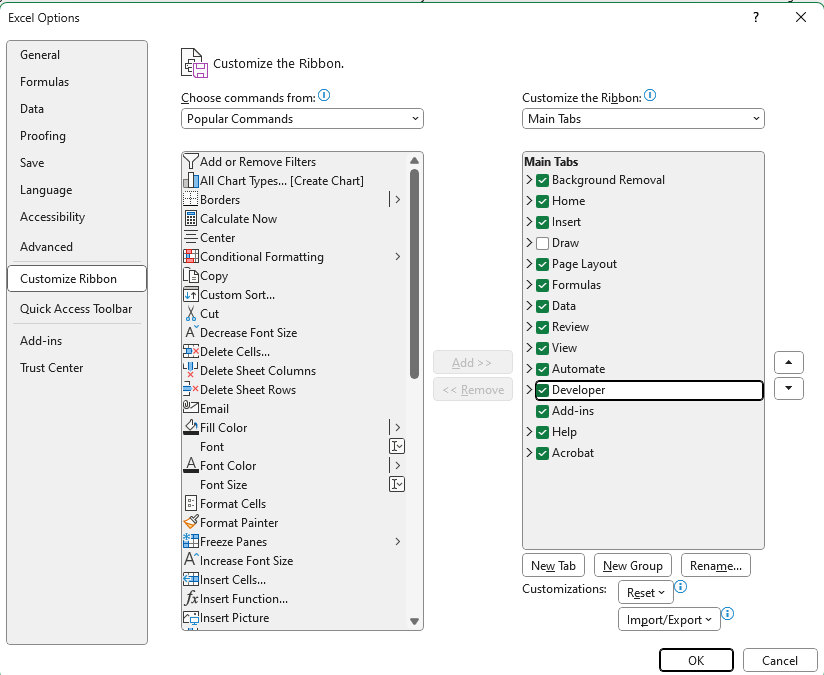
Step 1: Enable Developer tab – Macros and VBA tools can be found on the Developer tab, which is hidden by default, so the first step is to enable it.
On the File tab, go to Options > Customize Ribbon.
Under Customize the Ribbon and under Main Tabs, select the Developer check box.
Step 2: Record a macro
Follow these steps to record a macro.
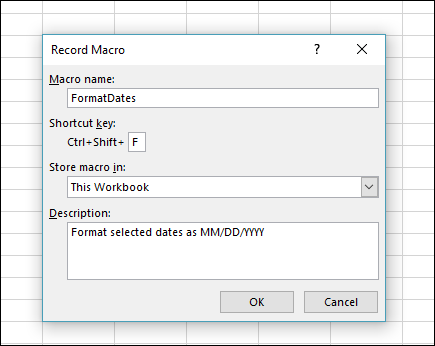
On the Developer tab, in the Code group, click Record Macro.-OR-Press Alt+T+M+R .
In the Macro name box, enter a name for the macro. Make the name as descriptive as possible so you can quickly find it if you create more than one macro.Note: The first character of the macro name must be a letter. Subsequent characters can be letters, numbers, or underscore characters. Spaces cannot be used in a macro name; an underscore character works well as a word separator. If you use a macro name that is also a cell reference, you may get an error message that the macro name is not valid.
To assign a keyboard shortcut to run the macro, in the Shortcut key box, type any letter (both uppercase or lowercase will work) that you want to use. It is best to use Ctrl + Shift (uppercase) key combinations, because the macro shortcut key will override any equivalent default Excel shortcut key while the workbook that contains the macro is open. For instance, if you use Ctrl+Z (Undo), you will lose the ability to Undo in that Excel instance.
In the Store macro in list, select where you want to store the macro.In general, you’ll save your macro in the This Workbook location, but if you want a macro to be available whenever you use Excel, select Personal Macro Workbook . When you select Personal Macro Workbook, Excel creates a hidden personal macro workbook (Personal.xlsb) if it does not already exist, and saves the macro in this workbook.
In the Description box, optionally type a brief description of what the macro does.Although the description field is optional, it is recommended you enter one. Also, try to enter a meaningful description with any information that may be useful to you or other users who will be running the macro. If you create a lot of macros, the description can help you quickly identify which macro does what, otherwise you might have to guess.
Click OK to start recording.
Perform the actions that you want to record.
On the Developer tab, in the Code group, click Stop Recording.-OR-Press Alt+T+M+R .
Working with recorded macros in Excel
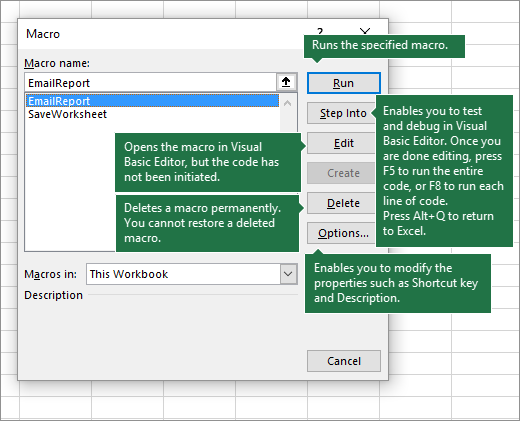
In the Developer tab, click Macros to view macros associated to a workbook. Or press Alt+ F8. This opens the Macro dialog box.
Caution: Macros cannot be undone. Before you run a recorded macro for the first time, make sure that you’ve either saved the workbook where you want to run the macro, or better yet work on a copy of the workbook to prevent unwanted changes. If you run a macro and it doesn’t do what you want, you can close the workbook without saving it.
Here’s further information on working with macros in Excel.
There are several different ways you can run a macro, such as using a shortcut key, graphic object, Quick Access Toolbar, a button, or even when opening a workbook.
If a workbook contains a VBA macro that you would like to use elsewhere, you can copy the module that contains that macro to another open workbook by using the Microsoft Visual Basic Editor.
Assign a macro to an object, shape or graphic
On a worksheet, right-click the object, graphic, shape, or the item to which you want to assign an existing macro, and then click Assign Macro.In the Assign Macro box, click the macro that you want to assign.
Working with recorded code in the Visual Basic Editor (VBE)
You can work with recorded code in the Visual Basic Editor (VBE) and add your own variables, control structures, and other code that the Macro Recorder cannot record. Since the macro recorder captures almost every step you take while recording, you can also clean up any unnecessary recorded code that serves no purpose in the macro. Reviewing your recorded code is a great way to learn or sharpen your VBA programming skills.
To reset the view in Outlook to its default settings, follow these steps:
Open Outlook on your computer.
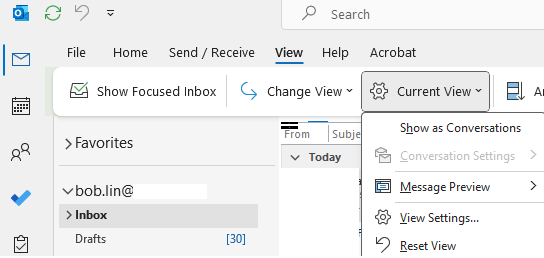
In the Outlook ribbon, switch to the “View” tab.
Click the “Reset View” button.
Confirm by selecting “Yes” in the confirmation window.
Your Outlook view will now be set to the default. If you’re still not satisfied with the view, you can also try the following options:
Click “Change View” in the same “View” tab and choose from three options: “Compact,” “Single,” or “Preview.”
Additionally, if you encounter any issues, you can reset the view using a command in Windows’ Run dialog box. Type the following command and press Enter:
outlook.exe /cleanviews
This will launch Outlook with the default view. If the problem persists, consider launching Outlook in safe mode to troubleshoot add-ins that might be causing the issue.


 .-OR-Press Alt+T+M+R .